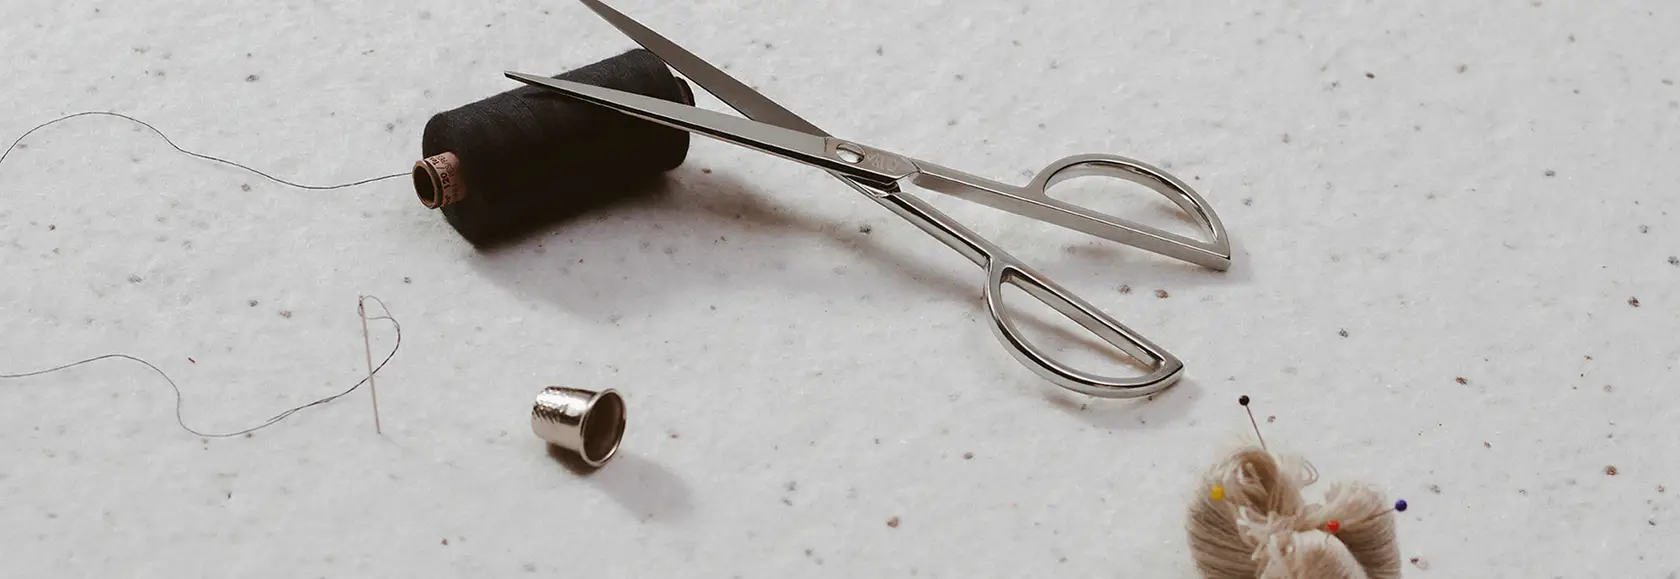
A small tear, a missing button or the first signs of pilling are no reason to discard a garment. With a little practice, many minor repairs can be done at home. This lets you continue wearing your clothes and mend individual areas as needed.
Here you’ll find simple instructions for common repairs. For delicate materials, intricate details or more extensive damage, a professional alterations specialist is the better choice. Always follow the instructions on the care label.
Removing pilling
Whether merino, cashmere or virgin wool, friction can cause small bobbles to form on the surface. They can usually be removed carefully.
Light pilling can be removed with a clothes brush or fabric comb. For heavier pilling, use a fabric shaver. Lay the garment flat and move the device over the surface without applying pressure. Do not stretch the material too much. Test the device on an inconspicuous area first and follow the manufacturer’s instructions.
Do not pull the bobbles off by hand. This can pull out fibres and create further loose areas. Take extra care with delicate or very loosely knitted materials, or have the cleaning or repair carried out by a professional.
DARNING & MENDING
A small hole can often be closed at home. You’ll need a sewing or darning needle, matching thread and, for larger holes, a darning egg or suitable patch.
Turn the garment inside out and place the darning egg under the hole. First, work the thread around the damaged area. Then sew across the hole with even stitches. Work in one direction first, then across it to create a close weave.
Do not pull the stitches too tight, or the fabric may pucker. Secure the thread on the inside.
A patch can provide extra support for larger or more heavily worn areas. Only use iron-on patches if the material and care label allow the necessary heat. For fine knits, stretchy materials or larger areas of damage, professional repair is recommended.
SEWING ON BUTTONS
A loose button can usually be sewn back on quickly. You’ll need matching thread, a needle and small scissors.
Thread the needle with doubled thread and knot the end. Position the button where it was originally attached. Sew it on with several stitches through the buttonholes. Leave a little space between the button and the fabric so that it can pass through the buttonhole easily later.
Wrap the thread around the stitches between the button and the fabric several times to create a small thread shank. Then bring the needle through to the inside of the garment, secure the thread and cut it.
Buttons with special fastenings, such as riveted jeans buttons, should be replaced by a professional.
OVERCOLOUR
A new colour can give a garment a different look or make a stain less visible. Whether dyeing is successful depends on the fibre, material blend, colour and finish of the garment.
Cotton, linen, viscose, lyocell and modal can often be dyed with suitable textile dyes. Wool and silk require dyes and processes suitable for animal fibres. Polyester and nylon often only take conventional textile dyes to a limited extent. Special dyes and processes are required for these fibres.
Seams, zips, labels and elastic components may also take the colour differently or not at all. With material blends, the result may be uneven.
First check the care label and the textile dye manufacturer’s instructions. Only use a dye suitable for the material in question. Follow the recommended temperature, dosage and processing time precisely. Only use dye salt or a fixative if the instructions call for it.
After dyeing, wash the garment according to the manufacturer’s instructions and separately from other clothes the first time. Overdyeing will not always completely conceal a stain.
SEWING OVER THE HEMM
Depending on the material, trousers, sleeves or skirts that are too long can often be shortened at home. You’ll need pins, a needle, matching thread and scissors.
Turn the garment inside out and mark the desired length. Ideally, try it on with the shoes you plan to wear it with. Pin the new hem in place first and check that the length is even.
Only cut away excess fabric once you are sure of the desired length. Leave enough seam allowance. Fold the cut edge inwards and pin the hem in place.
For a discreet finish, use a blind stitch. Alternate between taking a small section of the folded hem and a few threads of the outer fabric. Do not pull the thread too tightly. This keeps the stitching largely invisible from the outside.
Secure the thread on the inside at the end. Stretchy, very fine or technical materials may require a special sewing technique. If you are unsure, a professional alterations service is the better choice.